TOMIC LURES RVP2-118ii
Price range: $24.99 through $29.99
RVP2-94ii 6 Classic, 6 Tubby, 7 Classic
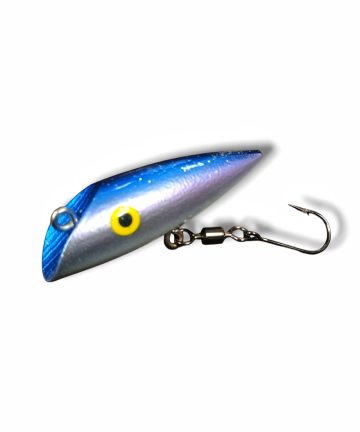
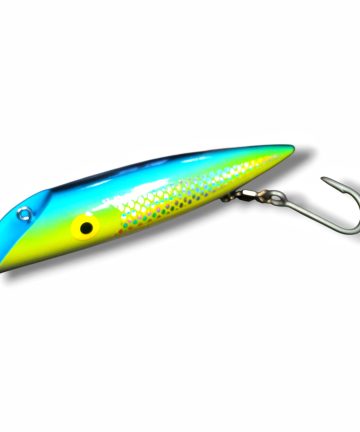
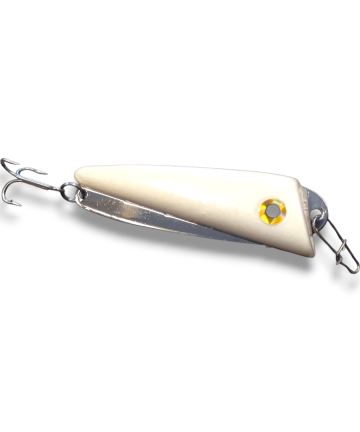
Handcrafted on Vancouver Island, British Columbia, Tomic Plugs have been the secret weapon of West Coast commercial trollers, local charter captains, and elite salmon anglers for over 60 years.
Description
Dominator of the Deep – The Tomic Salmon Plug
Handcrafted on Vancouver Island, British Columbia, Tomic Plugs have been the secret weapon of West Coast commercial trollers, local charter captains, and elite sport guides for over 60 years.
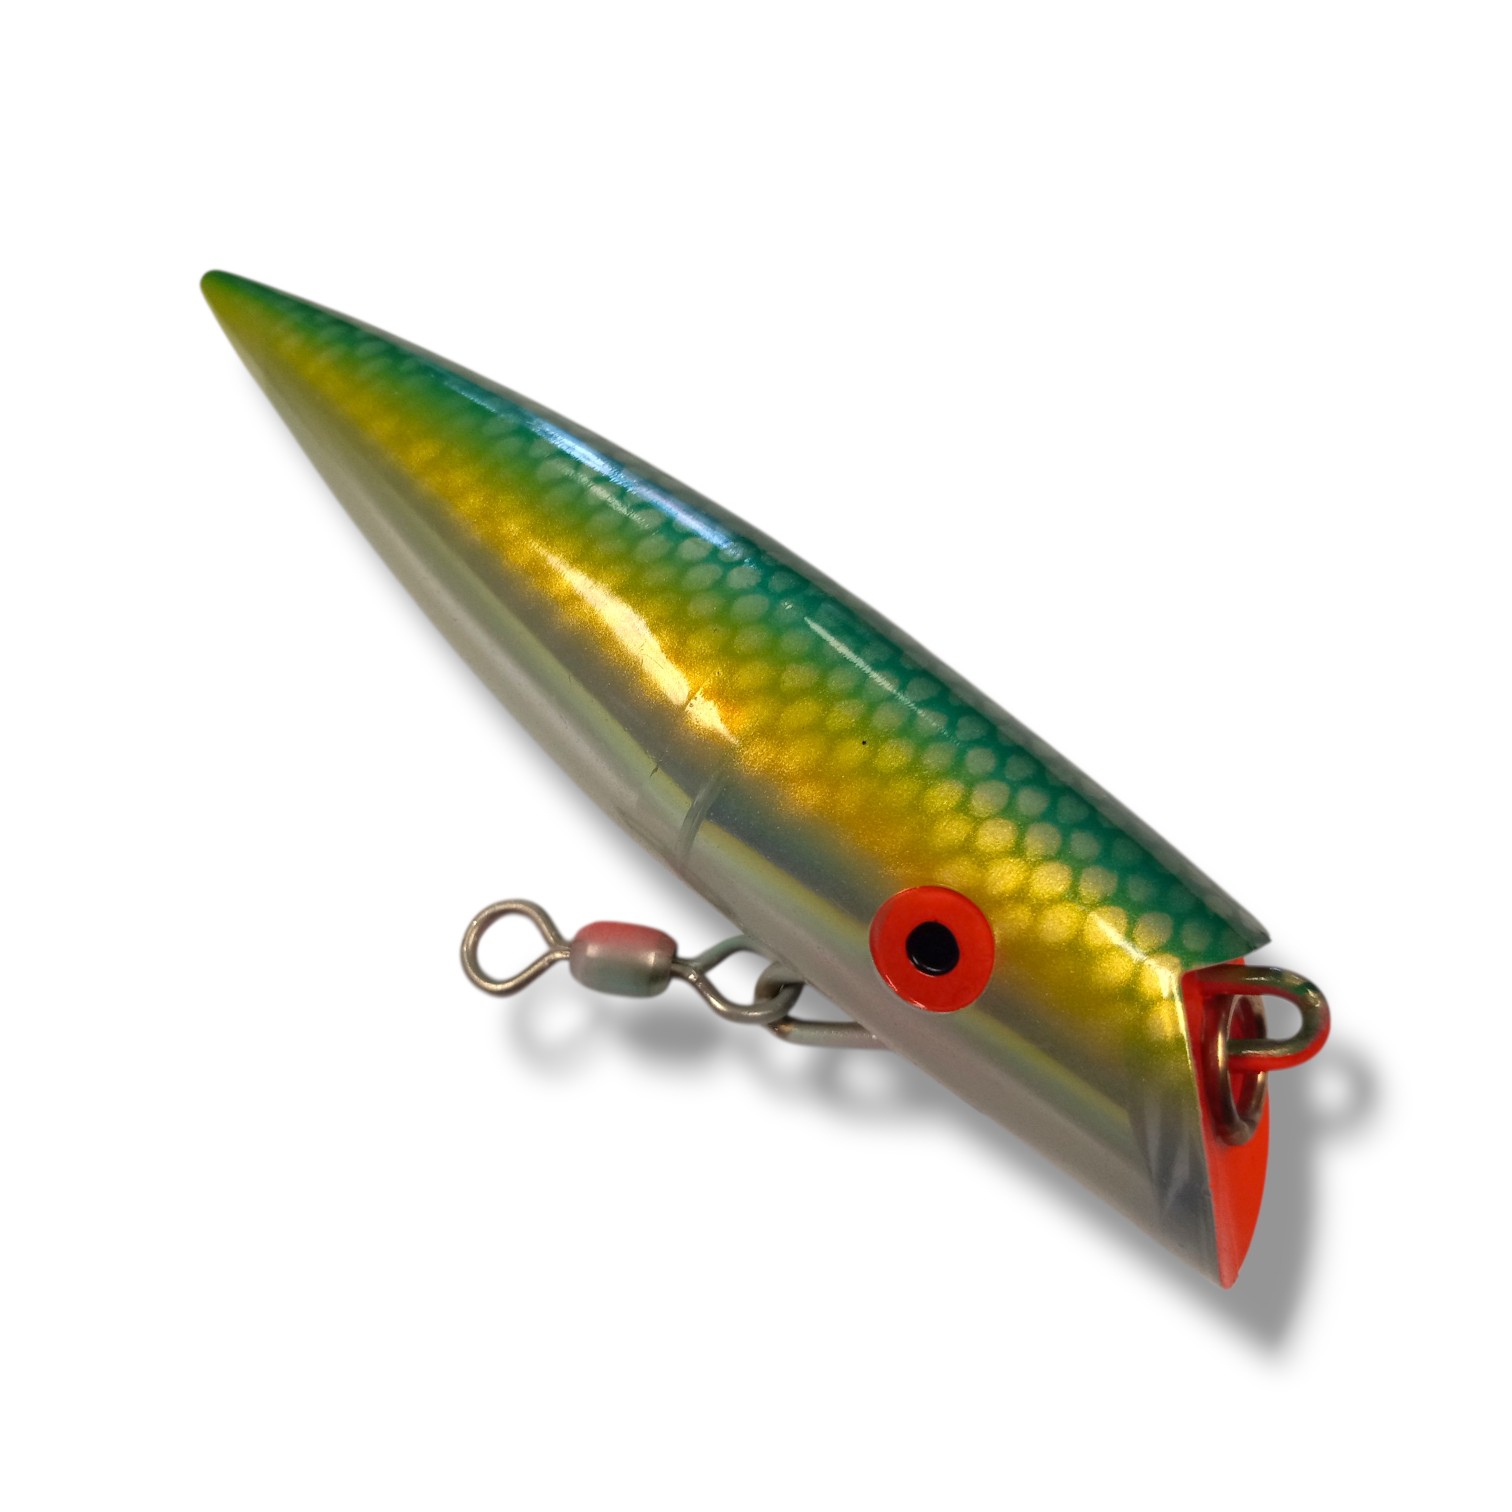
Engineered with an ultra-durable, hollow butyrate plastic body, Tomic plugs deliver a highly aggressive, erratic side-to-side swimming action that triggers violent, predatory strikes. Because they swim perfectly entirely on their own, you can completely eliminate heavy inline flashers. This allows you to enjoy a true, unweighted fight with the fish of a lifetime!
Every single plug is precision-molded and airbrushed by hand by local artisans in Gold River, BC, ensuring a premium, bite-resistant lacquer finish that stands up to the sharpest teeth.
Stop feeding the small ones. Upgrade your tackle box with a piece of West Coast fishing history today!
Additional information
| Plug Size | 6 inch Classic, 6 inch Tubby, 7 inch Classic |
|---|